Use this command to add a new AppLife Server that the AppLife Manager will check for applications and updates. Adding a new server only needs to be performed once and requires administrative privileges.
1. Click on the Add New Server button.
2. Acknowledge the UAC prompt to elevate permissions.
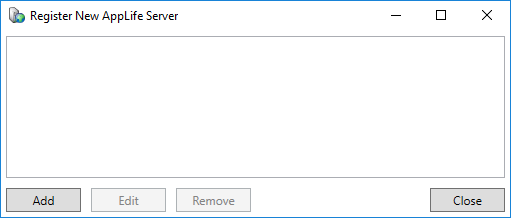
3. On
the Register New AppLife Server window, click the Add
button
4. Provide the Server Url of your AppLife Server
5. Provide the Client Access Key that this client will be identified by. This is usually a license key or some other type of individual identifier. If you are going to allow anonymous access to your application(s), this value can be left blank. The Client Access Key can be used to identify the installation within the AppLife Server dashboard. It is recommended that a Client Access Key always be assigned.
6.
Provide your Cloud
Subscription ID (if using the AppLife Cloud).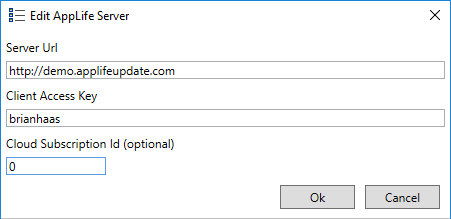
7. Click
the OK button
Once configured for a server, the AppLife Manager will initiate a server inquiry and begin to manage applications on that server for which the provided Client Access Key has permissions to manage.