Building Updates
An update for an Asp.Net application must, at a minimum, replace files within the web folder. Using the Add & Replace files by comparison action, AppLife Update can analyze the current web root folder with a previous version (baseline), and include in the update any files that are different between them. Your application might also require updating a database or any host of other activities necessary to transform an old version to the next version. Other AppLife Update actions that compliment updating Asp.Net applications are the provider independent database actions, Xml modification actions, COM registration actions and Service control actions.
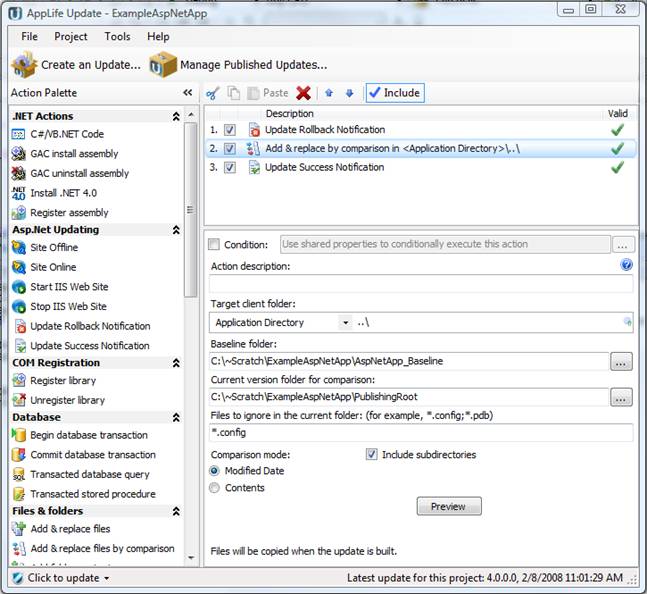
Using the Add & Replace files by comparison
1. Create a folder that is identical to your currently deployed web root folder. This folder represents the baseline web root.
2. Publish your Asp.Net application to your local IIS server or a local folder.
3. Add an Add & Replace files by comparison action to your AppLife Update project. Set the Target client folder. This is the folder on the deployed server where the files folders will be placed. Using the Web Update Controls, this should be the Application Directory. If you are using a utility app, this could be defined to be a path relative the application directory, or it could be an explicit path.
4. Set the Baseline folder to the folder you created in Step 1.
5. Set the Current version folder to the web root that you published to from Visual Studio.
6. If you do not wish to overwrite web.config files, add this to the Files to ignore property.
Completion Notification
Actions
As the update is executing, the web control that initiated
the update is waiting for a notification that the update has completed
successfully, or has failed and rolled back. The actions that provide this
notification are the Update Rollback Notification action and
the Update Success
Notification action. The first action in your update should be an
Update Rollback Notification action, and the last action in your update should
be an Update Success Notification action. If an update rollback is
initiated due to an update failure, the Update Rollback Notification action
provides the notification message. If the update succeeds to
completion, Update Success Notification action provides the notification
message.
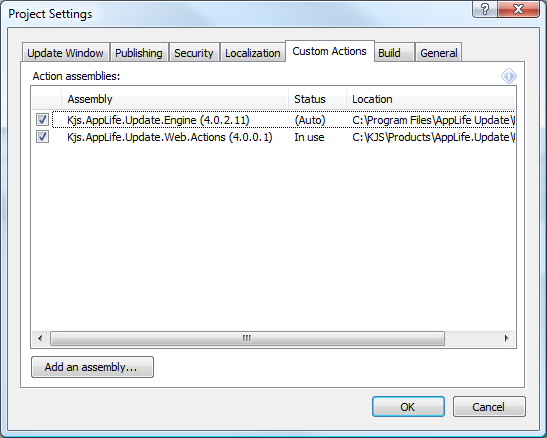
To add these actions to your update, first add the Kjs.AppLife.Update.Web.Actions.dll custom actions assembly to your project from the AppLife Update project settings dialog.
This will add the Asp.Net actions to the action palette.
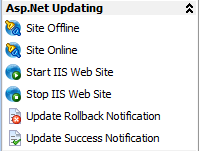
Drag the actions onto your action list. The notification actions require no configuration.
Offline / Online Actions
An IIS web site can be taken offline by placing an app_offline.htm file in the application root. When this file is present, any server request will be fulfilled by sending that file. The Site Offline action and the Site Online action can be used to place and remove this file while the update is executing.
Start / Stop IIS Web Site Actions
When updating an IIS web site, you can also choose to stop the site within IIS. The Stop IIS Web Site action and the Start IIS Web Site action will perform this action during the update.
Start / Stop the IIS Service
If it is necessary to completely stop the IIS Windows Service, you can use the Start Service and Stop Service actions built into AppLife Update.
Building Update to Version 2
Version 1
Version 2
To build an update, select to Create an Update…
This will launch the build update wizard.
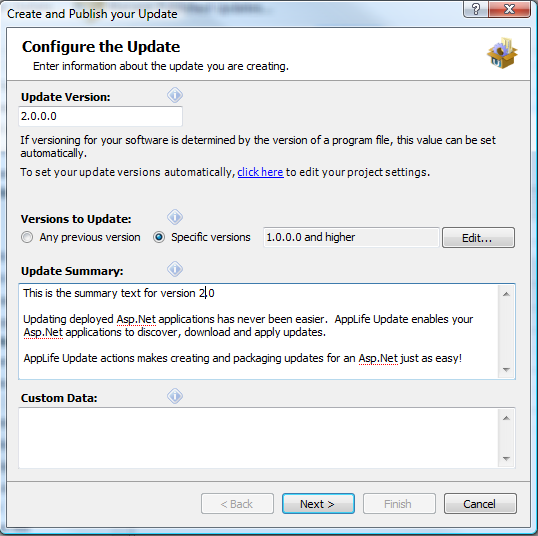
Set the update version and the versions that this update can operate on. You can also write an update summary that will be displayed in the browser after an update has been discovered.
Complete the build process by selecting the update location to publish to.