Update from a Browser
When deploying an Administrative Utility Application to provide update features is impractical for your Asp.Net application, you can implement updating features using a web form. To accomplish this, application updating can be controlled through the Asp.Net web controls that you place on a web form within your application.
The web update controls implement an Asp.Net updating solution that requires the AppLife Update product. They are not part of the AppLife Update product, but rather a unique solution that utilizes AppLife Update.
Permissions
To ensure that the update process has sufficient permissions, we utilize the AppLife Update Windows Service. This service securely executes AppLife Update Engine updates under the context of the local system account. This service must be installed on the web server.
Enabling the Asp.Net Application for Updates
We’ll walk through adding an Asp.Net WebUpdatePostbackDisplay to an existing asp.net application.
WebUpdatePostbackDisplay
The WebUpdatePostbackDisplay control utilizes the Microsoft AJAX extensions to provide JavaScript post backs for refreshing progress indication of the update process. This control operates similarly to the combined operation of the WebUpdateController and WebUpdateDisplay controls. Using this control requires that the AJAX extensions be present on the IIS web server.
Set up the Web Form
To set up your web form:
1. Add the WebUpdatePostbackDisplay
control to the Visual Studio toolbox. This control is located in the
Kjs.AppLife.Update.Web.dll assembly, included in the
download.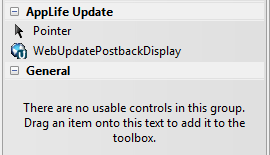
Drag a
WebUpdatePostbackDisplay onto your web form.
2. If
a Microsoft Ajax ScriptManager object is not already on your web form, add
one.
<asp:ScriptManager ID="ScriptManager1" runat="server">
</asp:ScriptManager>
3. Create an AppLife Update project in Make Update.
a.
When asked during the new project wizard how to control versioning,
select to Set Version Manually.
b.
When asked whether your update requires permissions elevation, select to
use the AppLife Update Windows Service. Don’t register your program
here. We’ll perform that task upcoming.
4.
Synchronize the application properties on the
control.
To synchronize, select the target environment of
XAML. Select just the attributes of the UpdateDisplay element and copy
these to the clipboard.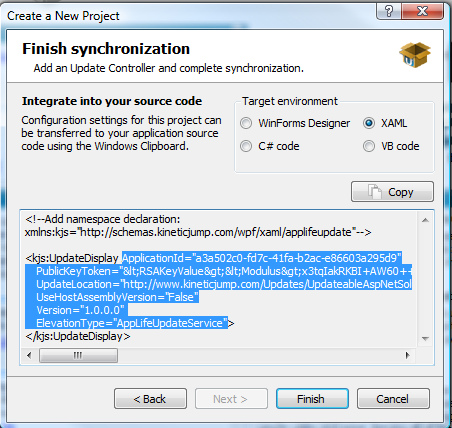
Then paste these attributes into the
WebPostbackDisplay HTML tab. (these properties can be set individually as
well.)
<cc1:WebUpdatePostbackDisplay ID="WebUpdatePostbackDisplay1" runat="server"
ApplicationId="a3a502c0-fd7c-41fa-b2ac-e86603a295d9"
PublicKeyToken="<RSAKeyValue><
… ;/RSAKeyValue>"
UpdateLocation="http://www.kineticjump.com/Updates/UpdateableAspNetSolutionLab"
UseHostAssemblyVersion="False"
Version="1.0.0.0"
ElevationType="AppLifeUpdateService"
/>
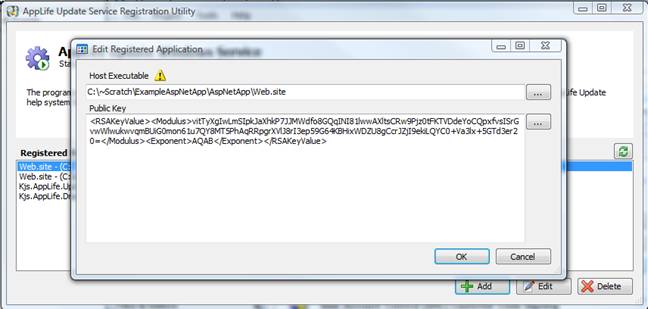
5. Register with AppLife Update Windows
Service.
Because we are going to use the Windows Service for elevating
privileges we need to register with the service. To register on your
development machine, use the Service Registration Utility from the Make
Update -> Tools menu. The Host Executable should be set to:
WebRootPath\Web.site. The public key should be the AppLife Update
project key. Using this service securely executes the update process under
the configured user profile, the local system account by
default.
6. Set up Update Completion
Notification
As an update is executing on the web server, the control
running in the user’s browser will display an indeterminate progress
image. During this time, the control in the browser is requesting a
completion file that will not be present until the update is completed.
The directory location of this update completion file must be configured on the
control. Create a folder in your web application for these completion
files, and set the UpdateCompletionNotificationPath property.
This value of this property should be the relative path to the completion
folder, from the root of the web site.
UpdateCompletionNotificationPath="UpdateLogs"
No
special permissions are required on this folder, as the notifications will be
written by the update process, running under a privileged account. Update
Actions executed during the update will use this folder to inform the browser
control that the update is completed.
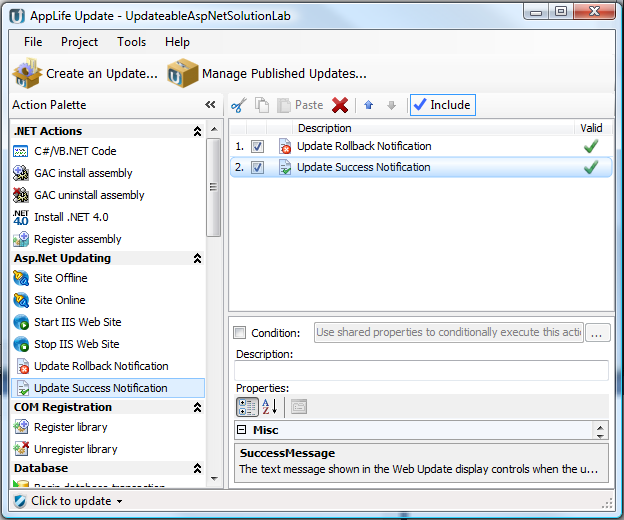
Completion
Notification Actions
The AppLife Update engine performs update
actions sequentially, starting with the first action and ending with the
last. If any action fails, the update is rolled back. During a
rollback, any actions that have been executed will perform their rollback work,
starting with the failing action.
The web control is waiting for a
notification that the update has completed successfully, or has failed and
rolled back. There are two update actions provided to complete this
notification. The Update Rollback Notification
action and the Update Success
Notification action. The first action in your update should be an
Update Rollback Notification action, and the last action in your update
should be an Update Success Notification action. The Update
Rollback Notification action does nothing during the execute stage, but during
the rollback stage, a notification message is written to the configured
location. The Update Success Notification action writes the notification
message during the execute stage.
Javascript Callback Method
Upon completion of the update, you have the opportunity to take custom action by implementing a javascript method on the page hosting the web update control.
When the completion notification is detected by the web update control, if a javascript method named KjsUpdateCompleteCallback exists on the page, it is called.
<script type="text/javascript">
function KjsUpdateCompleteCallback(results){
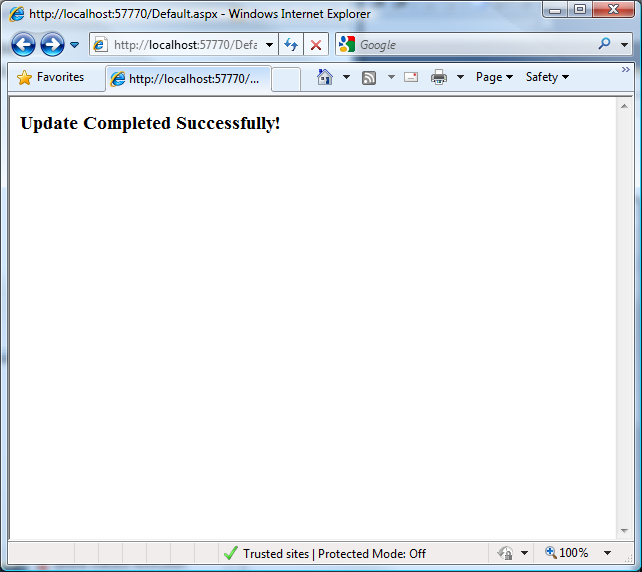
if (results == "Update Completed Successfully!") {
window.location = "about.aspx";
} }</script>
We are now set up. Rendering this web form will display a WebUpdateDisplay Control.
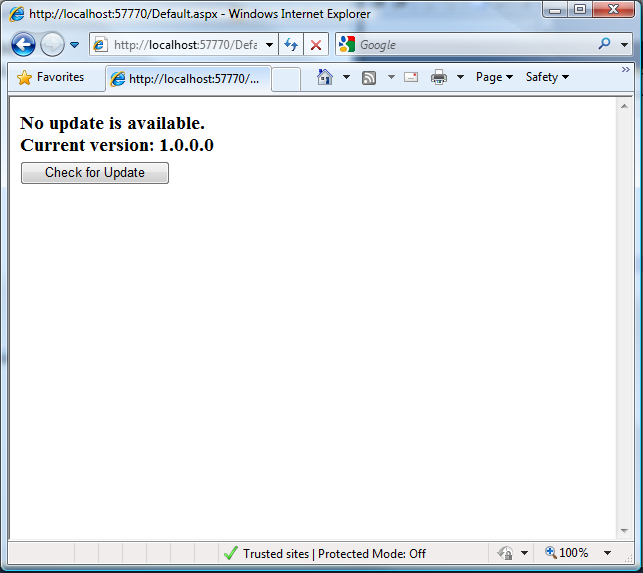
Clicking the Check for Updates button…
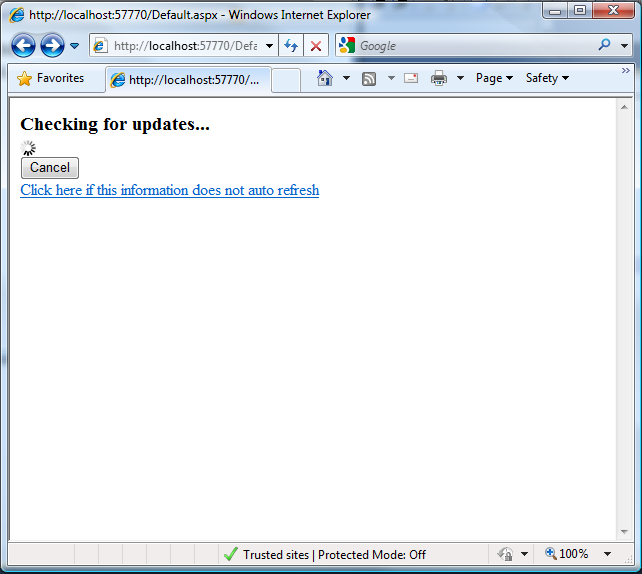
This page refreshes automatically. A refresh renders the entire page.
NOTE: If the control is not refreshing, verify that the Microsoft Ajax extensions are configured properly in your web.config file. More information can be found here.
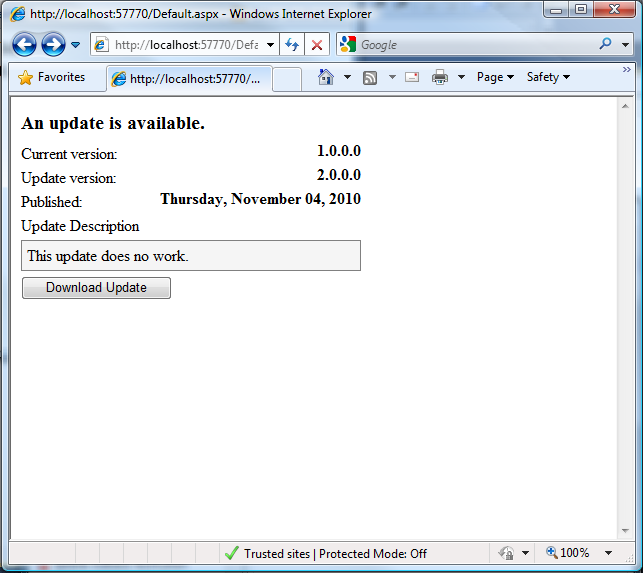
To apply an update, we need to publish a new update. By Publishing an update to version 2.0 that doesn’t do anything, the apply update process can be verified.
With an update available, the WebUpdateDisplay will display the information about the update.
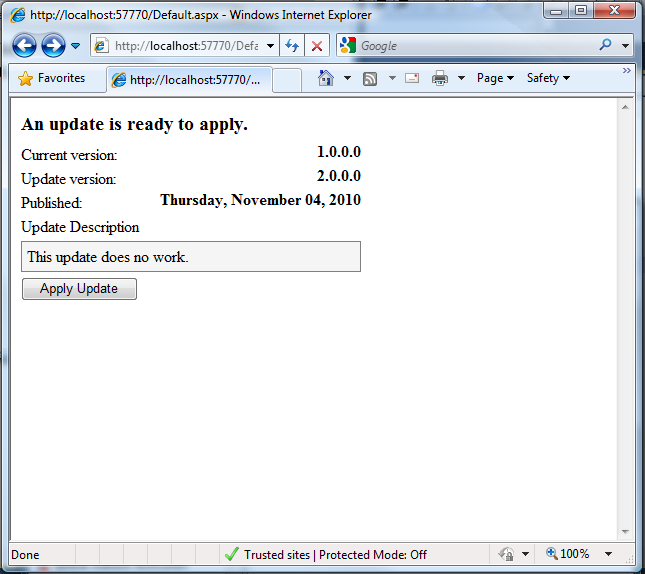
And downloading…

As the download proceeds, the page
is automatically refreshed to update the download progress. When the
download completes, an Apply Update button is present. Clicking the Apply
Update button will initiate the update process.
If you are running this in a development server, the update log can easily be opened to verify the update process. Select the Log Viewer from the Make Update Tools Menu. The log that was just created should open in the viewer.
 Installing the Service